Key Takeaways
- Well planning must account for the home, septic system, drainage, access, and local requirements.
- Underground soil and rock conditions influence drilling depth, equipment, yield, and costs.
- A complete system includes the well, pump, pressure tank, controls, plumbing, and possible treatment equipment.
- Testing is essential because water can appear clear while containing contaminants.
- Good records and routine maintenance help protect the water supply and simplify future repairs.
Table of Contents
- Why Private Well Planning Matters
- How to Choose a Well Location
- How Soil and Rock Affect Drilling
- What Happens During Well Construction
- The Main Parts of a Home Well System
- Water Testing Before and After Installation
- Costs Homeowners Should Expect
- A Simple Maintenance Plan
- Common Planning Mistakes to Avoid
- Questions to Ask Before Work Begins
Why Private Well Planning Matters
A private well is not simply a hole drilled into the ground. It is a complete household water system that must provide dependable flow, protect water quality, and connect safely to the home’s plumbing and electrical systems. Working with experienced residential well drilling contractors in Pennsylvania can help homeowners consider the property as a whole before construction begins.
Early planning can prevent expensive changes later. The proposed well location should be reviewed in relation to the house, septic components, driveway, outbuildings, livestock areas, fuel tanks, drainage routes, and future additions. A location that seems convenient today may become difficult to service after a garage, fence, patio, or landscaping project is completed.
How to Choose a Well Location
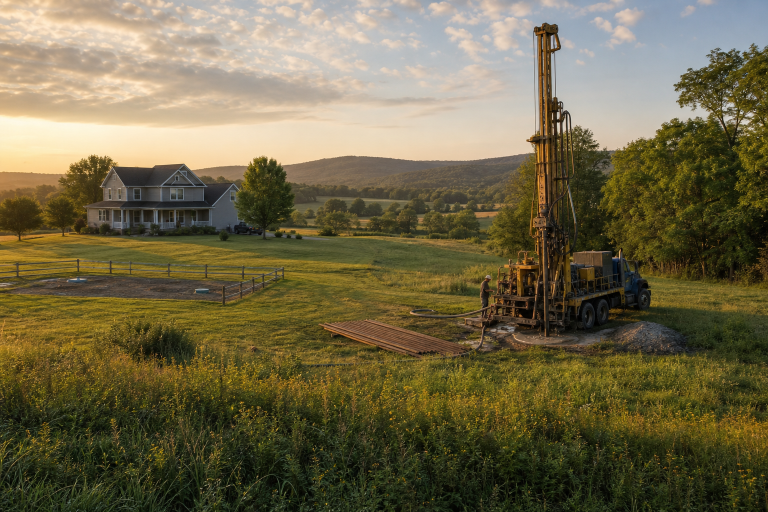
The closest spot to the house is not always the best well site. Safe separation from possible contamination sources, surface water, and drainage concerns should guide the decision. The site also needs enough open space for a drilling rig and room for future pump or well service.
Site Factors to Review
- Distance from the septic tank, drain field, and sewer lines.
- Animal pens, manure storage, fertilizer applications, and chemical storage.
- Fuel tanks, waste areas, and locations where vehicles may leak fluids.
- Low spots where rainwater or snowmelt can collect around the well.
- Driveway clearance, overhead wires, gates, slopes, and drilling access.
- Routes for electrical wiring, water lines, and trenching to the home.
For example, placing a well beside a driveway may make initial access easy, but runoff, traffic, or limited room for service equipment can cause long-term problems. A practical site should work during drilling and throughout the system’s life.
How Soil and Rock Affect Drilling
Conditions below ground can vary widely, even between neighboring properties. Sand, clay, gravel, fractured bedrock, and solid rock formations can affect the drilling method, depth, casing requirements, drilling time, and available water yield. A nearby well record provides useful context, but it is not a guarantee of results at a new site.
Helpful information may come from nearby well logs, county records, groundwater maps, local geological data, and conversations with qualified professionals who understand the area. This background helps set reasonable expectations, but final conditions are determined only when the property is drilled.
What Happens During Well Construction
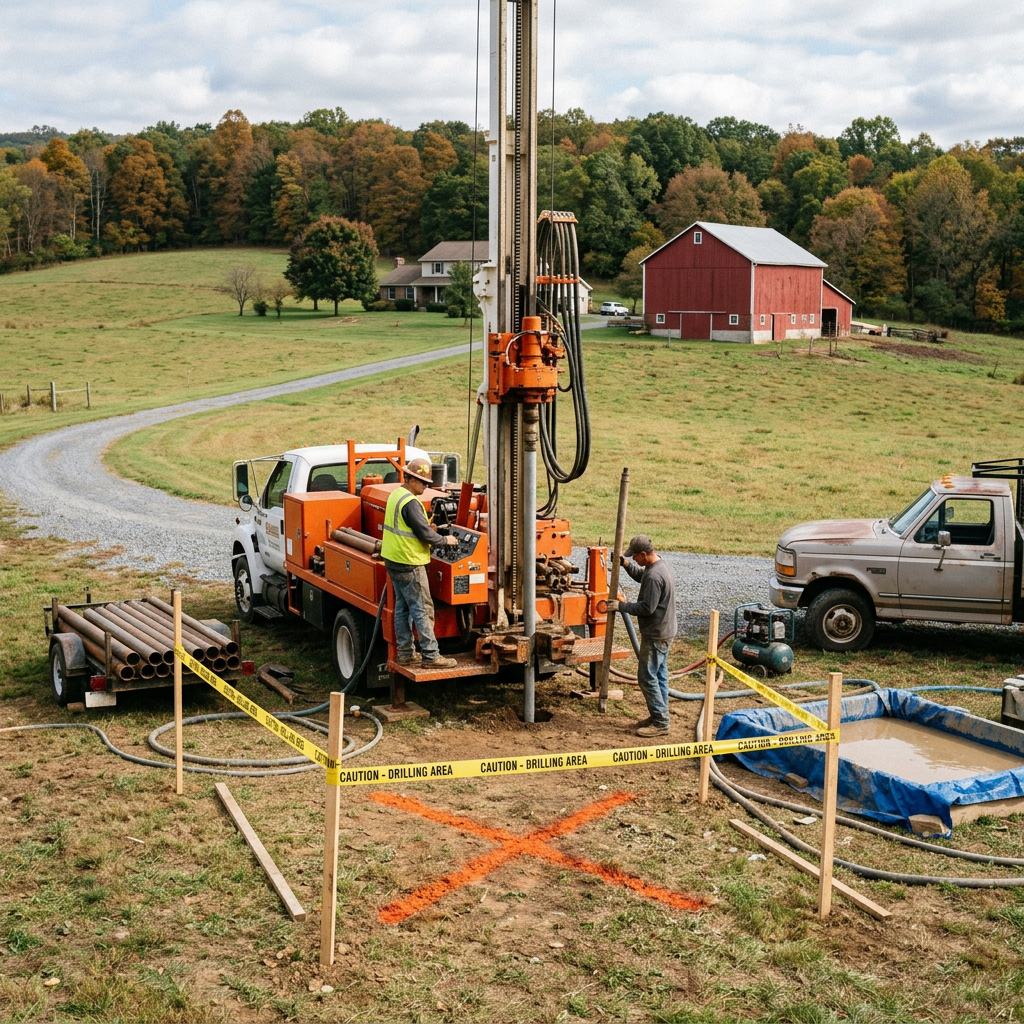
The exact construction sequence varies by site and local requirements, but a residential project commonly follows these steps:
- Review the property, access route, setbacks, and proposed well location.
- Confirm permits, utility markings, and site preparation needs.
- Drill through soil, rock, or other underground materials.
- Install casing, screens, seals, and a sanitary well cap as appropriate.
- Develop and flush the well to remove loose sediment and drilling material.
- Check yield or flow when required or recommended.
- Install the pump, pressure tank, controls, wiring, and water line.
- Collect water samples and preserve records for future maintenance.
Drilling is only one stage of the job. Proper sealing, reliable equipment, sanitary protection, and a safe connection to the home are equally important to the finished system.
The Main Parts of a Home Well System
A well estimate may include much more than drilling because several components are needed to move water from underground to household fixtures. The well casing supports the borehole, while the well cap helps keep out insects, debris, and surface water. A pumpbrings water to the home, and a pressure tank helps maintain consistent pressure while reducing excessive pump cycling.
Controls, wiring, plumbing connections, and possibly water treatment equipment complete the system. Treatment should follow water testing, not guesswork. A softener, sediment filter, iron filter, or disinfection system should address a documented concern rather than a vague assumption about the water.
Water Testing Before and After Installation
Clear water is not necessarily safe water. Bacteria, nitrate, arsenic, and other contaminants may have no obvious taste, odor, or color. The EPA’s private well resources explain that private well owners are responsible for protecting and monitoring their household water supplies.
Basic Testing Topics
- Total coliform bacteria and, when advised, E. coli.
- Nitrate and nitrite.
- pH, hardness, iron, manganese, sulfur, and sediment.
- Lead, arsenic, or other metals when local conditions suggest a risk.
- Additional tests related to farming, mining, industry, flooding, or nearby fuel storage.
Arrange testing after construction, after repairs or flooding, when water changes in taste or appearance, and during a property purchase. Use a certified laboratory and follow local recommendations for sampling and test selection.
Costs Homeowners Should Expect
There is no single well price that applies to every property. Total costs can change with depth, geology, rig access, casing, pump size, trenching, electrical work, permits, water testing, and treatment needs. Request written estimates that clearly state what is included, what is excluded, and how unexpected drilling conditions will be handled.
Budget for site review, drilling and casing, pump equipment, pressure controls, plumbing, electrical work, laboratory testing, and future maintenance. The lowest drilling quote may not be the lowest complete project cost if it excludes essential components or follow-up work.
A Simple Maintenance Plan
- Keep chemicals, trash, vehicles, and standing water away from the well area.
- Inspect the visible casing, cap, and nearby plumbing for damage.
- Pay attention to pressure changes, unusual pump cycling, cloudy water, odors, or changes in taste.
- Test water on a schedule appropriate for the property and local risks.
- Save well logs, test reports, equipment information, warranties, and repair receipts.
Common Planning Mistakes to Avoid
Frequent mistakes include selecting a location before reviewing septic and drainage risks, assuming a neighbor’s well depth will match the new site, overlooking drilling access, skipping baseline water testing, and buying treatment equipment before identifying the actual issue. Another common error is failing to keep complete records in a safe, easy-to-find location.
Questions to Ask Before Work Begins
- Which permits, setbacks, or inspections apply to this property?
- How will the well site be selected and protected from drainage?
- What does the estimate include for drilling, casing, pump equipment, and connections?
- How will unexpected depth, rock, or low-yield conditions be addressed?
- Which water tests are recommended after installation?
- Which records will be provided when the project is complete?
Pennsylvania homeowners can also review the Pennsylvania Department of Health well water guidance for state-specific information on private well water quality and care.
Final Planning Checklist
Before work begins, confirm the well location, review potential contamination sources, verify local requirements, plan for rig access, compare complete written estimates, arrange post-installation testing, and create a file for all well and equipment records. Careful planning gives a private well the best chance to provide dependable household water for years to come.
Discover more from The Cameron Journal
Subscribe to get the latest posts sent to your email.