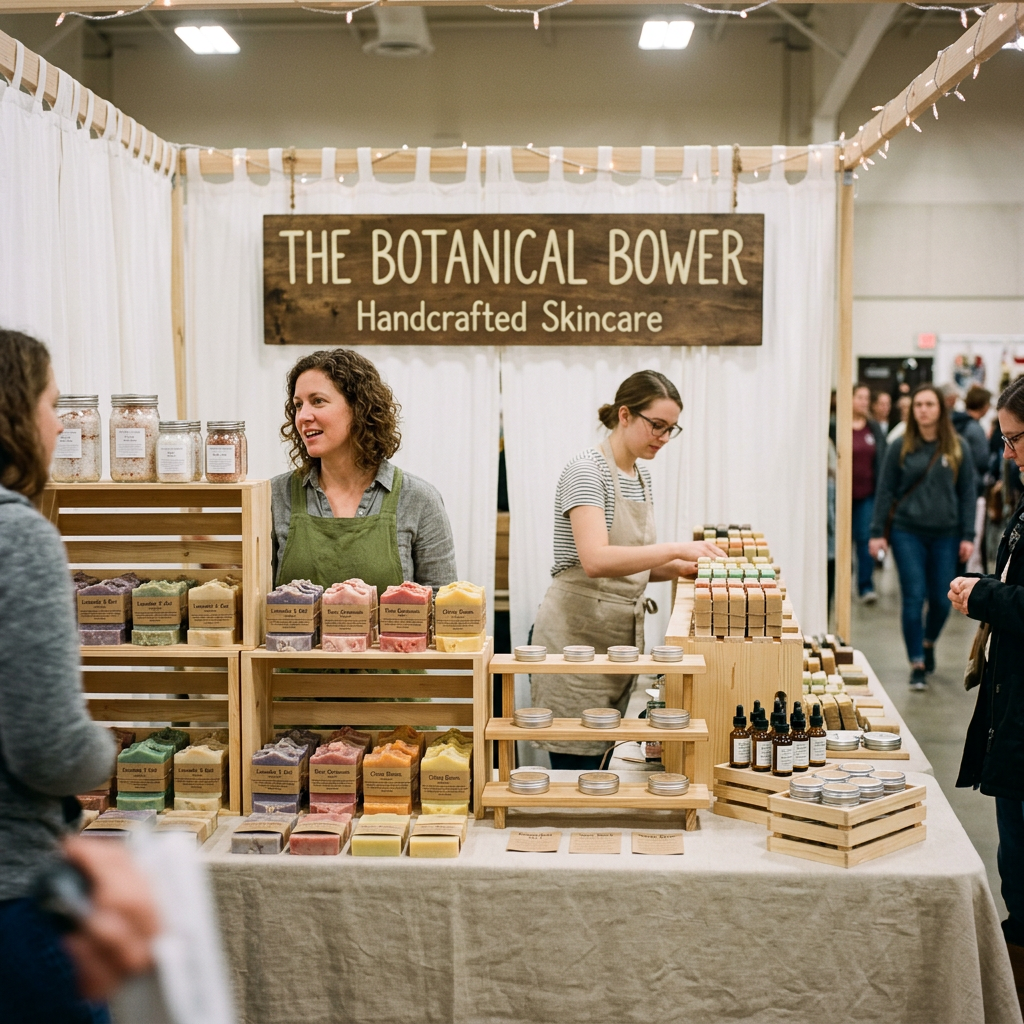
Small business owners show up to local fairs and community nights ready to meet neighbors, then hit the same customer engagement challenges as everyone else: busy foot traffic, split attention, and dozens of booths competing for a quick glance. The hardest part isn’t effort, it’s translating a great product or service into a clear, memorable moment in a noisy space. With the right local events marketing mindset and event promotion strategies, even a crowded venue can become a steady source of trust, recognition, and referrals. That’s how community-based business growth starts.
Turn Product Photos Into Short Booth Videos That Stop Traffic
A lot of small businesses already have great product photos, but in a busy, real-world event setting, still images can get lost in the visual noise. Turning those photos into short video clips gives you an instant edge: motion naturally pulls the eye, and quick transitions and effects can make your products feel more exciting and memorable in the moment.
With an image-to-video tool, you can upload the same photos you’re already using and have them animated into scroll-stopping booth visuals, complete with movement and simple story beats that add energy without changing what you sell. If you want a fast way to do that without learning video editing, Adobe Firefly’s image-to-video tool lets you take existing images and instantly generate eye-catching clips with motion, transitions, and effects, no complex timeline or technical skills required.
Use a One-Page Event Prep Checklist to Get Booth-Ready
A great booth doesn’t happen by accident, it’s usually the result of a simple checklist you can run the week before and the morning of the event. Use the ideas below to get past “plain table” mode and into a setup that feels welcoming, clear, and worth stopping for.
- Draft your one-page event preparation checklist (two timelines): Make a single page with two columns: “Pack This” and “Do This,” then split “Do This” into 1 week out and event morning. Include essentials (tape, scissors, extension cord, phone charger, table covering) plus booth-specific items (signage, demo pieces, giveaway bowl, payment setup). This reduces last-minute scrambling and frees your attention for real conversations.
- Design your booth like a 10-foot story (not a storage table): Start with one clear focal point at eye level, your banner, a product display, or a looping video made from your product photos, then keep the table surface mostly open for interaction. Place items in three zones: “look” (eye-level signage/video), “touch” (samples/demo), and “take” (cards/one-pagers). A clean, staged layout helps people understand you in seconds and makes your booth feel intentional.
- Build effective signage for fairs with a 3-line rule: Create one main sign that answers three questions: What is it? Who is it for? What should I do next? Example: “Fresh-baked mini loaves • Gluten-free options • Try a sample + preorder for pickup.” Keep the text short and readable from 6–10 feet, and add one price or starting point so people can self-qualify without awkwardly asking.
- Add one interactive display that earns the stop: Choose one simple “do” activity: a spin-to-win prompt jar, a scent/sample station, a tiny before-and-after demo, or a 30-second quiz that matches someone to a product. Event teams often note that content that increases attendee engagement tends to include a bit of entertainment, so aim for light and friendly rather than complicated. Your goal is a reason to pause, and a natural opener for conversation.
- Plan a 15-second greeting and two follow-up questions: Write a short opener you can repeat all day: who you help + the outcome. Then pick two questions that fit your booth: “What brought you to the event today?” and “Are you shopping for yourself or gifting?” This keeps interactions warm and efficient, especially when foot traffic spikes.
- Turn passersby into contacts with a clear, low-friction next step: Decide your “ask” before you arrive: join your list for local updates, book a consultation, place a preorder, or scan a code for a show-only freebie. Many events attract serious shoppers, some event stats suggest 81% of attendees have buying authority, so don’t bury the action. Put the next step on a small sign near where people naturally stand, and practice saying it in one sentence.
When your checklist covers layout, signage, one interactive moment, and a confident greeting, you show up ready to serve your community, and you’ll feel calmer handling the usual event questions about cost, staffing, setup time, and what to promote.
Local Event Pop-Ups: Questions People Ask Most
Q: How much should a small business budget for a local event booth?
A: Start with the fee, then add a small “comfort cushion” for basics like a table cover, tape, and a simple sign. Set a clear goal (sales, leads, or bookings) and cap spending at what you can realistically earn back within a month. If you are testing a new event, keep it lean and measure results before upgrading.
Q: How many people do I need to staff a booth without burning out?
A: One person can manage a slow event, but two makes breaks, restocks, and payments smoother. If you are solo, bring a seated option, water, and a clear “Be right back” sign for quick pauses. Ask a friend to cover 20 minutes during peak traffic if possible.
Q: How early should I arrive, and what setup mistakes slow people down?
A: Aim to arrive 45 to 90 minutes early so you can solve surprises calmly. The biggest time-wasters are dead phone batteries, missing extension cords, and unclear pricing. Pack backups and keep your display simple enough to rebuild fast.
Q: What should I promote so people feel urgency without feeling pressured?
A: A pop-up event is a temporary brand experience, so lean into limited-time energy like a show-only bundle or a preorder perk. Limited-time offers work best when the deal is easy to understand in one sentence. Make the next step painless with a QR code, signup, or tap-to-pay.
Q: Should I post online even if the event organizer is already promoting it?
A: Yes, because your audience needs a personal reason to visit your table, not just the event name. Share one product highlight, one quick benefit, and your exact booth location or time window. Repeat once the day before and once the morning of.
Pick Giveaways People Keep: Drinkware That Starts Conversations
Once you know the basics that make pop-ups run smoothly, the next way to reduce awkward “drive-by” traffic is giving people a reason to stop and engage. Branded merchandise, like reusable bags, mugs, or small giveaways, can pull shoppers into your space, spark a quick conversation, and leave them with something useful that keeps your business top of mind long after the event ends. Drinkware works especially well because people actually keep it; a mug on a desk or in a kitchen quietly reinforces your name and can even prompt word-of-mouth when someone asks where it’s from. If you’re creating mugs, use a custom mug design and printing service with multiple mug styles so you can match your vibe, plus options for full-wrap and accent printing to make your logo and message stand out. Look for transparent pricing (no hidden fees) and reliable delivery so you’re not scrambling the week of the event, start by browsing unique mug designs.
Understanding Booth Clarity in 7 Seconds
Your merch may get people close, but your booth must make sense fast. A simple framework helps: visual hierarchy, one clear message, and a layout that guides the eye and feet. In plain terms, visual hierarchy is arranging what people see so the most important thing gets noticed first.
This matters because most visitors will not study your display. It takes just seven seconds for visitors to form an impression of your brand, so confusion costs you conversations you never even start. Clarity also turns a quick glance into a small story about who you help and why you are worth stopping for.
Think of it like a good storefront window: one headline, one hero product, and a clear path inside. Your sign answers “what is this,” your display shows “for who,” and your layout invites “come closer.” Once the story is clear, capturing contacts with QR codes becomes the natural next step.
Understanding the Post-Event Momentum Loop
The real win happens after the hello. A lightweight post-event plan means you capture a clean way to reconnect, then you follow up while the interaction is still fresh, and you keep the conversation moving through local partnerships.
Event lead capture matters because attention fades fast once people walk away. QR codes lower the friction of signing up, especially when 100 million people in the U.S. are expected to scan a QR Code in 2026. A simple follow up emailturns a friendly chat into a next step someone can actually say yes to.
Picture a shopper who scans your code, gets a short thank you note, then meets you again at a partner shop’s mini display. One easy touch becomes two, then three, until your name feels familiar.
Turn One Local Event into Stronger Community Visibility
Local events can feel like a lot, limited time, limited budget, and the pressure to stand out while still feeling genuine. A steadier path is treating each pop-up as one small cycle: show up with intention, connect with neighbors, and follow through so community support benefits have time to compound into real local market presence and entrepreneurial confidence. One thoughtful upgrade per event builds momentum you can measure. For your next community event, pick one tactic from this guide and commit to using it from start to finish. That kind of small business empowerment builds event success motivation now and long-term resilience through relationships that keep the community, and your business, strong.
Discover more from The Cameron Journal
Subscribe to get the latest posts sent to your email.