
Key Takeaways
- Identify every liquid waste stream before choosing containers, storage methods, or pickup schedules.
- Use clear labels, compatible containers, closed lids, and secondary containment to reduce leaks and mix-ups.
- Give employees practical training in handling, protective equipment use, inspections, and spill response.
- Keep records from the moment waste is generated through recycling, treatment, or final disposal.
- Review the plan whenever operations, materials, equipment, staffing, or regulatory requirements change.
Liquid waste planning is easier when it begins before a container leaks, a drain is threatened, or a pickup becomes urgent. Businesses that generate oils, solvents, process water, sludge, cleaning chemicals, or fuel residues need a repeatable system for identifying, storing, documenting, and moving those materials. Reliable wastewater transport services can support that system, but safe handling at the facility must come first.
A practical plan helps manufacturers, repair shops, laboratories, food facilities, construction teams, and maintenance departments avoid preventable disruptions. It also gives employees a clear answer to everyday questions: What is in this container? Where does it belong? What should happen if it spills? Who needs to be notified?
Why Liquid Waste Planning Deserves Attention
A small leak can quickly become a larger operational problem. Liquids may spread across walking surfaces, enter floor or storm drains, damage equipment, create odors, contaminate other waste streams, or expose workers to harmful materials. A repair shop, for example, may collect used oil correctly but still create a risk if drums sit beside an unprotected storm drain without containment.
Not every discarded liquid is managed the same way. The source, ingredients, concentration, and condition of a material affect the appropriate handling method. Federal hazardous-waste rules recognize characteristics such as ignitability, corrosivity, reactivity, and toxicity, which is why assumptions based solely on a liquid’s color or odor can be unsafe.
Step One: List Every Liquid Waste Stream
Start with a sitewide inventory. Walk through work areas, maintenance rooms, storage locations, loading zones, and wastewater systems. Include materials that are generated regularly, as well as occasional wastes from cleanouts, repairs, seasonal work, and spills.
- Used oil, fuel residues, and oily water
- Solvents, degreasers, and cleaning fluids
- Process wastewater and rinse water
- Industrial sludge and settled solids
- Paint, coatings, and chemical mixtures
- Laboratory, maintenance, and equipment-service liquids
For each stream, record its source, estimated volume, known ingredients, storage location, container type, and typical collection frequency. This inventory becomes the foundation for training, inspections, transportation planning, and budgeting.
Step Two: Confirm Waste Characteristics
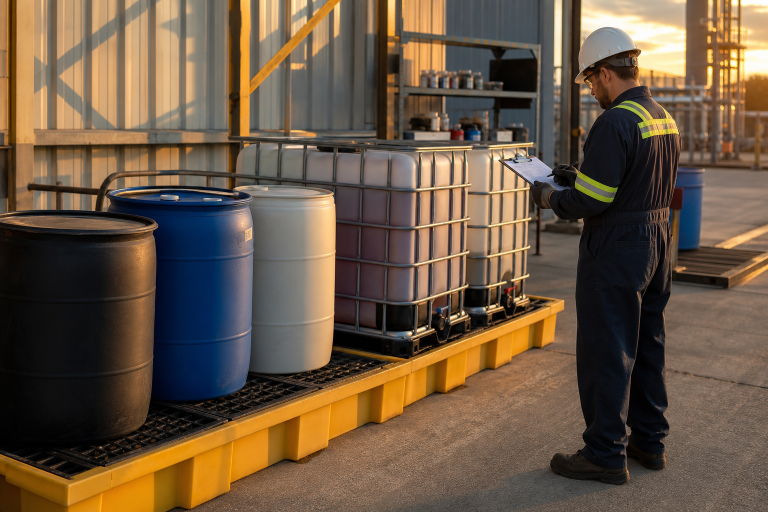
Review Safety Data Sheets, purchase records, process notes, and previous disposal documentation. If a container is unknown, unlabeled, or mixed, do not guess. Arrange professional characterization or testing before transferring, combining, transporting, or disposing of it.
Classification influences nearly every next step, including compatible packaging, employee protection, carrier requirements, treatment options, and final destination. Employees should understand that “liquid” refers to a physical state, not a safety category.
Step Three: Choose Safer Containers and Storage Areas
- Select containers made for and compatible with the material inside.
- Inspect for corrosion, cracks, bulges, damaged seals, loose fittings, and residue around closures.
- Keep lids closed except when material is actively being added or removed.
- Label every container with its contents, accumulation information where applicable, and relevant hazards.
- Place containers on stable, accessible surfaces that allow routine inspection.
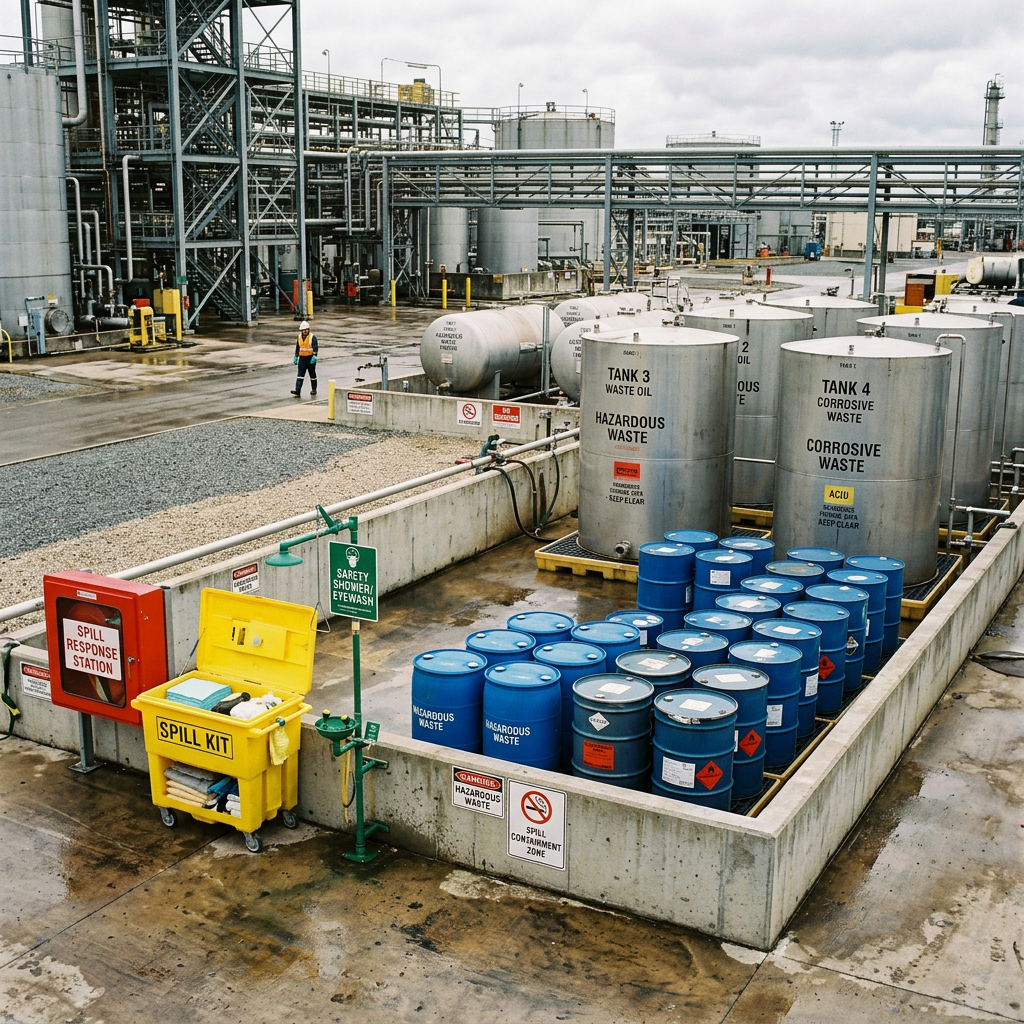
- Use secondary containment where a release could reach drains, soil, equipment, or traffic areas.
- Separate incompatible materials and prevent accidental mixing during transfers.
Labels and Safety Data Sheets are not merely paperwork. Under workplace hazard communication practices, workers need understandable information about chemical identities, hazards, and safe handling methods. A clear hazard communication program helps turn that information into safer daily decisions.
Step Four: Build a Simple Spill Response Plan
The first minutes of a spill matter. Workers should stop the task, keep people away from the area, notify the appropriate supervisor, and, when safe, prevent liquid from reaching drains. Spill kits should match the materials on site and may include absorbents, drain covers, compatible overpack containers, disposal bags, gloves, eye protection, and warning barriers.
Employees should not attempt cleanup when the substance is unknown, fumes are strong, a chemical reaction is possible, the spill is beyond their training, or the release threatens a drain, waterway, or occupied area. Document the material, estimated amount, location, likely cause, response actions, and corrective steps after every incident.
Step Five: Train Employees in Short, Useful Sessions
Brief, role-specific training is often more useful than a long annual presentation. Teach employees how to read labels and Safety Data Sheets, inspect containers, select required protective equipment, transfer liquids without splashing or overfilling, report unusual odors or leaks, and stay clear of truck and loading traffic.
Repeat training after a spill, a process change, a new chemical purchase, an equipment upgrade, or a staffing change. Supervisors should also reinforce one simple rule: reporting a concern early is always better than hiding a problem until it grows.
Step Six: Plan Transportation Before Pickup Day
Waste should not be moved until its contents and hazards are understood. Before pickup, confirm that containers are sound, closed, labeled, and positioned for safe loading. Clear access routes, improve lighting where needed, keep pedestrians away from vehicle paths, and ensure incompatible materials are not loaded together.
Confirm that the carrier and receiving facility can accept the specific waste stream. A written chain of custody should identify what was left at the site, when it was left, who transported it, and where it was sent.
Step Seven: Keep Better Waste Records
Consistent documentation makes liquid waste management repeatable instead of reactive. Track:
- Waste type, source, volume, and container location
- Creation, collection, inspection, and pickup dates
- Container maintenance and corrective actions
- Carrier and receiving-facility information
- Training records, spill reports, and follow-up measures
These records can reveal unexpected increases in waste, recurring leaks, delayed pickups, and opportunities to reduce material use at the source.
Step Eight: Look for Recycling and Reduction Options
Some used oils, solvents, and process liquids may have recycling or reclamation options. Keep streams separate to avoid contamination, use precise dispensing tools to reduce overuse, and avoid buying more chemicals than operations can reasonably use. Prevention can lower disposal costs while reducing storage demands and spill exposure.
Common Planning Mistakes to Avoid
- Leaving containers unlabeled because employees believe the contents are obvious.
- Mixing liquids to save storage space.
- Storing containers near drains or outdoors without protection.
- Relying on one employee to hold all waste-handling knowledge.
- Waiting until containers are full before arranging removal.
- Using spill kits that do not fit the actual hazards on site.
- Skipping inspections after process or chemical changes.
Questions Businesses Often Ask
What counts as liquid waste?
Liquid waste can include wastewater, oils, fuels, solvents, cleaners, chemical residues, paint mixtures, and sludges. Proper handling depends on the material’s source and characteristics.
How often should storage areas be inspected?
Set an inspection schedule based on waste type, storage volume, container condition, and site activity. High-use areas and higher-risk materials generally need more frequent checks.
Can different liquid wastes share one container?
Do not combine wastes unless compatibility, classification, treatment, transportation, and disposal effects have been confirmed. Separate containers are often the safer choice.
Final Checklist for a 2026 Liquid Waste Plan
- List every waste stream.
- Confirm material characteristics.
- Use compatible containers and clear labels.
- Inspect storage areas on a set schedule.
- Maintain suitable spill supplies.
- Train employees with practical scenarios.
- Prepare transportation and receiving arrangements early.
- Track waste through final disposition.
- Review recycling and waste-reduction opportunities.
- Update the plan after incidents or operational changes.
Conclusion
A safer liquid waste program does not need to be complicated. It needs accurate information, suitable storage, trained employees, dependable records, and a response plan that works under pressure. By reviewing these basics regularly, businesses can reduce avoidable risks and keep daily operations cleaner, more organized, and easier to manage.
Discover more from The Cameron Journal
Subscribe to get the latest posts sent to your email.